 Image: Ethan Easton, Brostrick.com
Look, I’m not 16 years old anymore but, I have to be honest, I’m not sure I ever learned the “proper” way to shave. My dad taught me to use a razor and which direction to move it around my face. That’s the way his dad taught him and I assume his dad’s dad. Probably all the way back to Adam (you know, of Adam and Eve).
But there’s way more to shaving than just gliding the razor around your face in a constant state of panic over cutting your face or, even worse, slicing your neck. I always thought I could die.
So, I consulted with my personal barber, Chris Leone who owns Leone’s Barber Shop just outside of Boston, MA to really learn the tips and tricks of mastering the perfect shave. Spoiler alert: The actual razor shave is not the most important step.
Even though we know that most women love beards on guys, you can still perfect the shaving techniques below that’ll help keep your beard and skin underneath in check.
Let’s tackle this together!
7 STEPS TO THE PERFECT SHAVE
PREPARE YOUR FACE
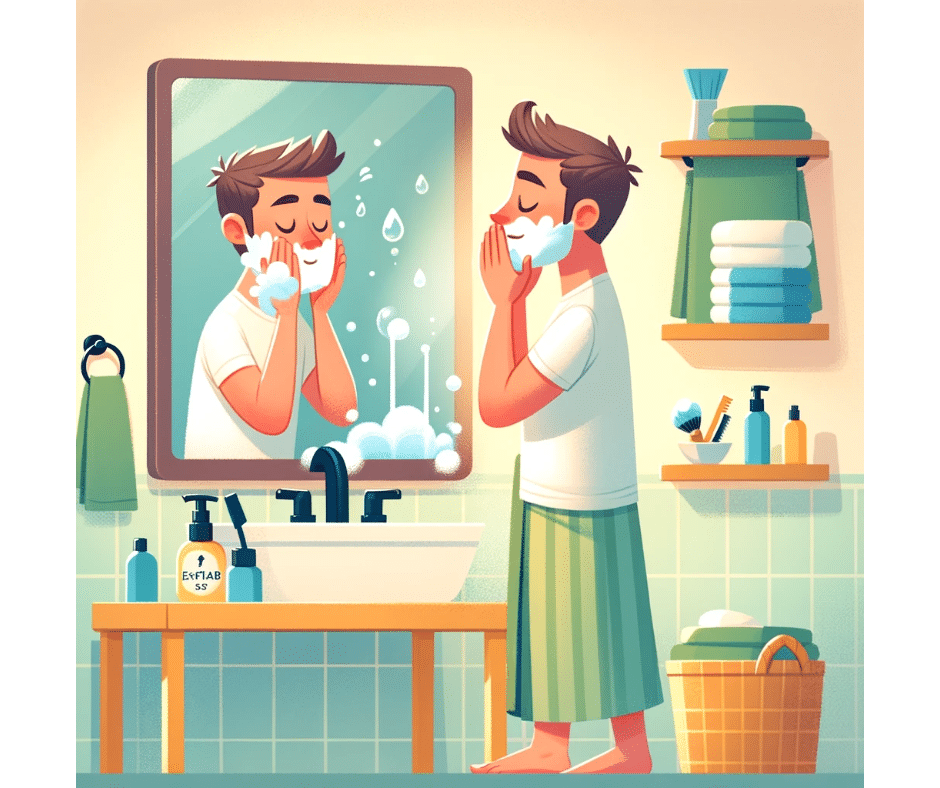 Image: Ethan Easton, Brostrick.com
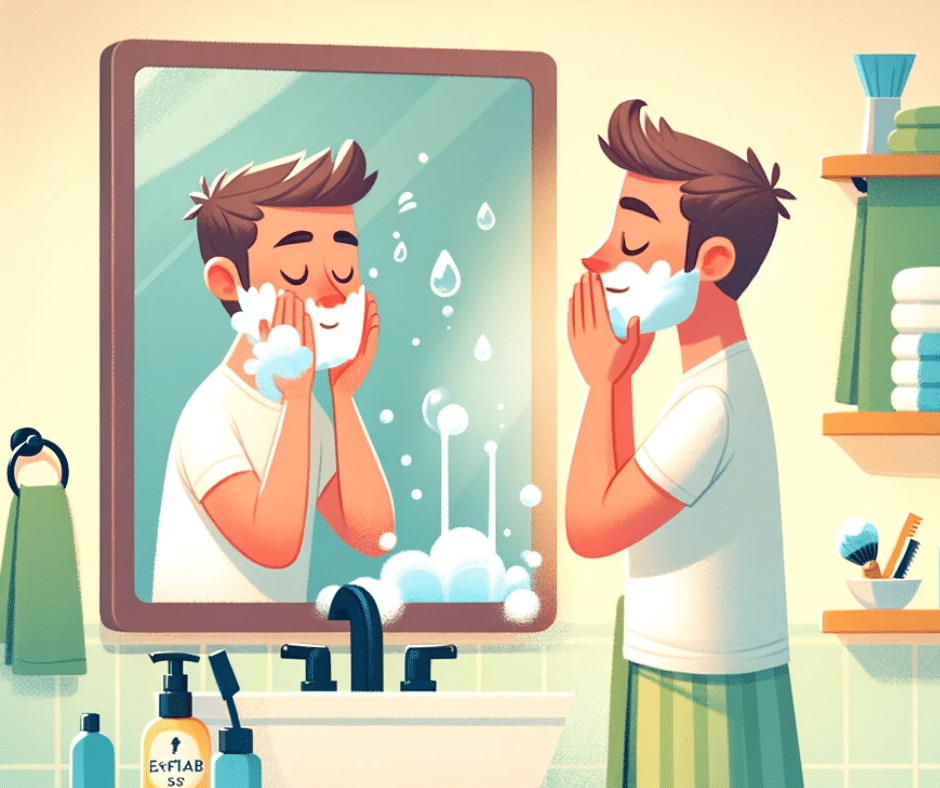
Before you even think about shaving, I have two words for you: Hydration and Exfoliating. These are vital in the shaving process and, when done properly, really will get your face, skin, beard, and stubble ready for a super easy shave and should help reduce ingrown hairs, bumps, and more.
HYDRATION
Importance: Hydration helps to soften your facial hair, making it much easier to shave. Dry hair can be as tough as copper wire of the same thickness, leading to more resistance when shaving (plus it just hurts more when it’s dry).
Warm water helps to open the pores on your skin, allowing for a closer shave and easier removal of the hair.
How to Do It: Taking a warm (not hot) shower is one of the most effective ways to hydrate your skin and hair. The steam and warmth help in opening the pores and softening the hair. If you’re not showering, you can also soak a towel in warm water and hold it against your face for a minute or two. Plus, it just feels great.
Be sure to do this right before you shave to ensure your skin and hair are in tip-top condition for the shave!
EXFOLIATE
Importance: Exfoliating helps in getting rid of dead skin cells that can clog your razor, ensuring a smoother glide. Even if you can’t see the dead skin on your face, it’s probably there!
By removing dead skin, exfoliation helps to prevent ingrown hairs, which occur when a new hair strand grows back into the skin.
How to Do It: After your skin is hydrated, apply a small amount of exfoliant to your face. Use gentle, circular motions to spread the exfoliant around, focusing on areas prone to ingrown hairs or roughness. If you have sensitive skin like I do, I recommend going with a mild chemical exfoliator and don’t scrub your face too hard.
Editors Note: It’s important not to over-exfoliate. Depending on your skin type, exfoliating 1-2 times a week is sufficient.
PRE-SHAVE OIL IS YOUR RIDE-OR-DIE
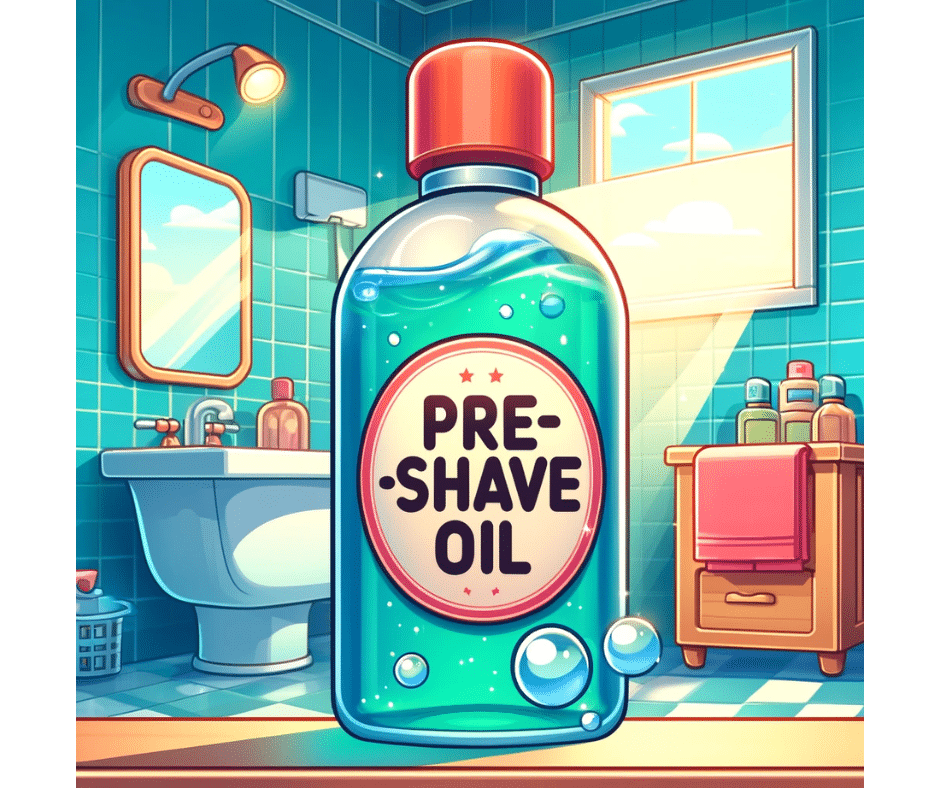 Image: Ethan Easton, Brostrick.com
One of the most important steps, applying pre-shave oil is an often overlooked but totally an essential step for the best shaving experience. Pre-shave oil actually has a few different purposes that help to enhance both the quality of your shave and the condition of your skin.
BENEFITS
- Softens Hair: Pre-shave oil further softens your facial hair, making it even easier for the razor to cut through. This comes into play the most if your beard is thick or coarse.
- Reduces Friction: By forming a protective layer over the skin, pre-shave oil reduces the friction between the skin and the razor. This minimizes the risk of razor burn, cuts, and irritation.
- Hydrates Skin: It also helps in keeping the skin hydrated throughout the shaving process, preventing the uncomfortable tightness and dryness that can occur after shaving.
- Enhances Razor Glide: The lubrication provided by pre-shave oil allows the razor to glide more smoothly across the skin, which can result in a closer shave with fewer passes. Fewer passes mean less irritation!
HOW TO APPLY
- Choose the Right Oil: Look for an oil that suits your skin type. If you have sensitive skin like I do, go for natural oils without added fragrances, like argan or jojoba oil.
Warm the Oil: Add a few drops of oil into your palms. Rub your hands together for a few seconds to warm it up (you already know how to do this, I’m sure), which helps it spread and absorb much better.
Apply to Your Beard: Massage the oil into your beard using upward, circular motions. Ensure to cover the entire area you plan to shave. This massage can also help to lift the hairs, making them easier to cut.
Allow It to Sit: Let the oil sit on your skin for a minute so it fully penetrates your hair and skin. I find this minute crucial for softening my hair and maximizing the lubrication effect.
TO CREAM OR NOT TO CREAM
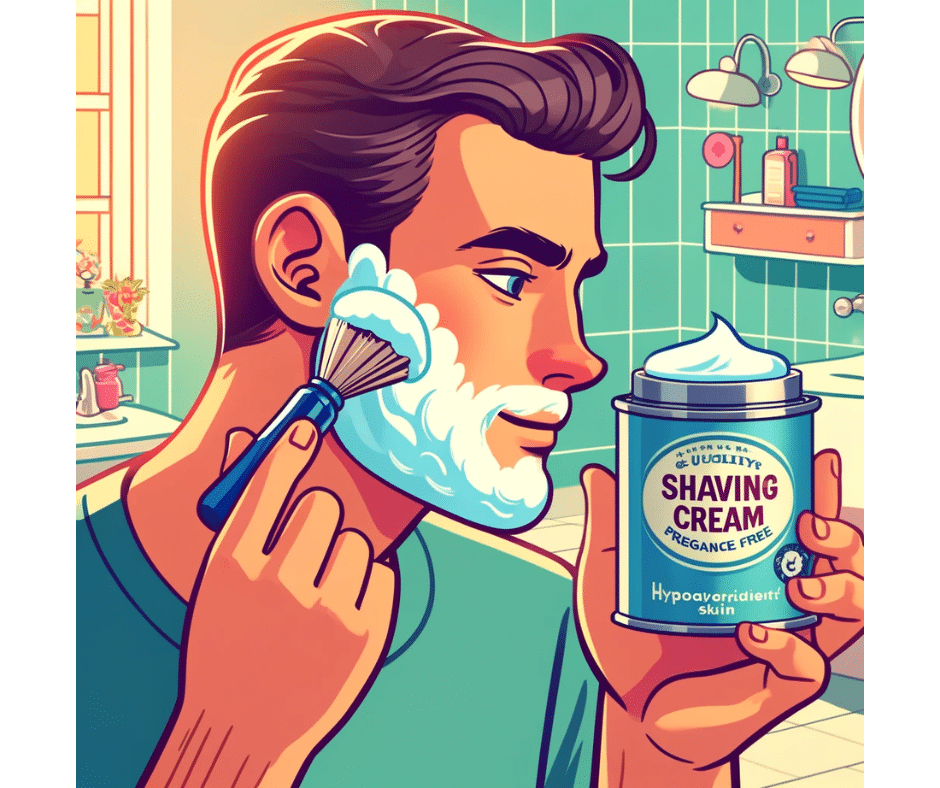 Image: Ethan Easton, Brostrick.com
Sure, applying shaving cream is a critical step in your overall shaving process as it helps to protect your skin from irritation and ensuring a smooth, close shave. While I like a classic shaving cream, what about those shaving gels? And how much is too much?
YOUR CHOICES
Whether or not you’re into classic shaving cream or a cool shaving gel, you still need to base your choice of your specific skin-type.
- For Sensitive Skin: Look for shaving creams labeled as “for sensitive skin,” which are usually free from fragrances and harsh chemicals that can cause irritation or allergic reactions.
- For Dry Skin: Choose a shaving cream with hydrating ingredients like aloe vera, glycerin, or essential oils to help moisturize the skin.
- For Oily Skin: Gel-based shaving creams or those formulated with astringent properties can help manage oiliness.
As far as ingredients go keep these two things in mind:
- Natural Ingredients: Aloe vera, shea butter, coconut oil, and essential oils can provide a smooth shave while nourishing the skin.
- Avoid Harsh Chemicals: Try to avoid shaving creams with sulfates and parabens, since they can strip your skin of natural oils and lead to irritation.
HOW TO APPLY
I’m guilty of usually using my hand when applying my shaving cream, but almost any barber, including the one I consulted with, recommend going with a classic brush. You can choose synthetic, boar, horse, and badger hair.
- Wet the Brush: Soak your shaving brush in warm water for a few minutes to soften the bristles. This helps create a richer lather.
- Apply Cream to Brush: If using a tub of shaving cream, swirl the wet brush over the cream to pick up a small amount. For creams that come in tubes, you can apply a dollop directly onto the brush or into a shaving bowl (bonus points if you have one of those).
- Create the Lather: Using the brush, work the cream in circular motions on your face or in a shaving bowl to create a rich, creamy lather. If the lather seems too thick or dry, add more water a few drops at a time.
- Apply to Your Face: With the brush, apply the lather to your face in circular motions. This action lifts the hairs and coats each one with a generous amount of cream, providing protection and lubrication. Focus on covering the entire area you plan to shave, ensuring an even layer of cream.
- Let It Sit: Allow the shaving cream to sit on your skin for a minute or two before starting to shave. This extra time helps to further soften the hair and prepare the skin for a smoother shaving experience.
TIME TO ACTUALLY SHAVE
 Image: Ethan Easton, Brostrick.com
If you made it this far, congrats! You’re clearly taking this serious and I’m proud of you. Now’s the time to actually start shaving. There are a few things to keep in mind, however. So let’s dig a bit deeper into each aspect to ensure a smooth, effective shave!
CHOOSE THE RIGHT RAZOR
- Straight Razor: Offers a close shave with a single blade that folds into its handle. It requires skill and practice to use safely and effectively, but can provide a very close shave and is cost-effective over time. Best for those who seek a traditional shaving experience and are willing to invest time in learning. If you’re a newbie, however, I would not recommend this one. Leave that to your barber!
- Safety Razor: Uses double-edged blades and provides a close shave with less irritation than multi-blade razors. It’s easier to handle than a straight razor and is good for those looking for a close shave with more control and less waste.
- Multi-Blade Razor: Features multiple blades that can provide a close shave in fewer passes. It’s easy to use and widely available at most drugstores, but can cause irritation and ingrown hairs for some people due to the multi-blade action pulling and cutting hair below skin level.
Skin Type and Hair Texture Consideration:
- Sensitive Skin: Opt for a safety razor or a high-quality multi-blade razor with built-in moisture strips to reduce irritation.
- Coarse or Thick Hair: A straight razor or a sturdy safety razor can handle thick hair well, giving a close shave without pulling or snagging.
- Regular Skin and Hair: Most razor types will work, but your own personal preference comes in to play the most.
3 WAYS TO SHAVE
- With the Grain: Shaving in the direction of hair growth reduces the risk of cuts, nicks, and irritation. It’s the best approach for the first pass, especially for those with sensitive skin or prone to razor burn.
- Against the Grain: For a closer shave, a second pass against the grain can be performed carefully. However, this increases the risk of irritation and ingrown hairs. If you choose to shave against the grain, make sure your skin is well-prepared and lubricated like in the steps I mentioned above.
- Across the Grain: As a middle ground, shaving across the grain (perpendicular to hair growth) can give you a bit of a closer shave than “with the grain” with less irritation than “against the grain.” This can be a good option for a second pass.
Tips & Tricks:
- Taut Skin: Holding the skin taut in the area you are shaving can help achieve a closer shave by providing a smoother surface for the razor to glide over.
- No Pressure: Let the razor do the work. Apply minimal pressure to avoid irritation and cuts. The weight of the razor is often enough to cut the hair effectively.
- Listen to Your Skin: If you experience irritation or discomfort, take a break from shaving or try a different razor type or shaving product.
AFTER-SHAVE IS KEY
 Image: Ethan Easton, Brostrick.com
The after-shave phase is really important for maintaining healthy, irritation-free skin post-shave. I always recommend rinsing off your excess shaving cream with cool-to-cold water. Yep, really.
The cold water will help to close your pores that were opened up with you were in the pre-shave phases. It’ll also help to soothe your skin and help to reduce redness and inflammation. And, if you have any nicks or cuts, cold water can help constrict blood vessels, reducing bleeding more quickly.
CHOOSING AFTER-SHAVE
Make the right choice of after-shave based on your skin-type. Here are some choices based on that:
- Alcohol-Free Options: Alcohol can dry out and irritate the skin, especially after shaving when your skin is most vulnerable. Look for after-shave products that are alcohol-free. Ingredients like witch hazel can serve as gentler antiseptics.
- Moisturizing Ingredients: After-shave lotions or balms with ingredients like aloe vera, glycerin, or essential oils can help to moisturize and repair the skin.
- For Sensitive Skin: If you have sensitive skin, select an after-shave that is fragrance-free and formulated for sensitive skin to avoid potential irritants.
Some of the benefits of using after-shave include helping to soothe your skin, reduce irritation and redness, and start the healing process if there are any minor cuts or abrasions.
It also helps to rehydrate your skin after shaving, preventing dryness and tightness. And some after-shaves even contain antiseptic ingredients to help prevent infection in any cuts or nicks.
HOW TO APPLY
- Pour a Small Amount: Place a small amount of after-shave into your palm. You don’t need much; a little goes a long way!
- Rub Hands Together: Lightly rub your hands together to evenly distribute it and slightly warm it for better absorption.
- Apply Gently: Gently pat the after-shave onto your face and neck in the shaved areas. Avoid rubbing a lot, because this can cause irritation.
- Let It Absorb: Allow a few moments for the after-shave to fully absorb into your skin before applying any additional products, like moisturizers.
MOISTURIZE, MOISTURIZE, MOISTURIZE
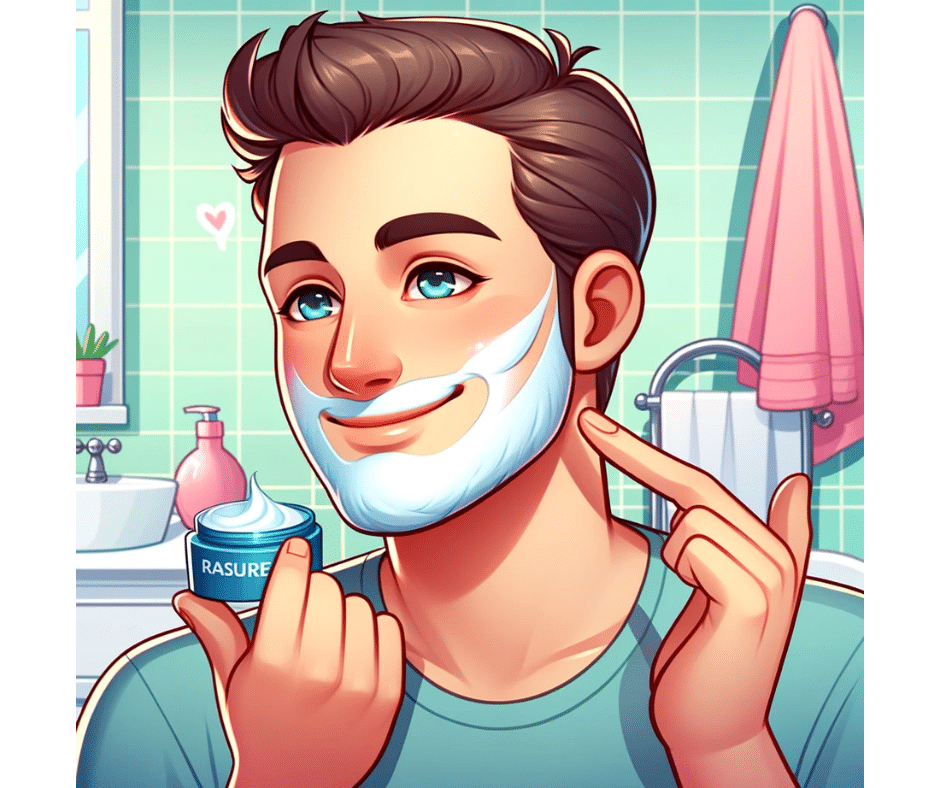 Image: Ethan Easton, Brostrick.com
You’ve made it this far so please, please, please remember to moisturize your face and neck. And while you’re at it, be sure to add sunscreen too!
Add moisturizing into your skincare routine, especially after shaving, is so vital for maintaining healthy, resilient skin. Most moisturizers can soothe your skin, reduce the risk of irritation, redness, and inflammation. Plus, it just feels so good.
CLEAN THAT RAZOR!
 Image: Ethan Easton, Brostrick.com
I get it, once you’re done shaving you just want to be done especially if you’ve gone with the after-shave steps and the moisturizing step. But proper razor care is key not just for maintaining the longevity of your razor but also for ensuring a safe, hygienic shave every time.
CLEANING IMPORTANCE
Importance: Proper cleaning prevents bacterial growth. Some razors can harbor bacteria and other microbes, especially if left wet. This can cause skin infections or irritation.
Cleaning also removes build-up from the blades, helping them stay sharp longer. And, proper cleaning (and drying) can also help prevent the blades from rusting, which can compromise the quality of your shave and the longevity of your razor.
HOW TO CLEAN IT
Rinse After Use: After each use, rinse your razor thoroughly under hot water. Hot water helps remove shaving cream, hair, and dead skin more effectively than cold water.
Disassemble if Possible: If your razor can be safely disassembled, take it apart to clean each component more thoroughly. This is particularly important for safety razors.
Use Alcohol: For a deeper clean, especially if you don’t use the razor daily, dip the blades in rubbing alcohol. This helps disinfect the blades and remove any residual water, which prevents rust.
Avoid Harsh Cleaners: It’s generally not necessary to use soap or harsh cleaners on your razor. These can leave residue or even cause damage to the blades or handle. If you must, go for mild soap and ensure you rinse the razor thoroughly afterward – but I really don’t recommend this.
FINAL TIPS & TRICKS
I really think we covered everything, don’t you? But if you’re thirsty for more here are a few extra tips and tricks to consider and try out for a better shave overall.
- Regular Blade Replacement: Replace razor blades or disposable razors regularly to ensure a sharp, clean shave every time.
- Shave Less Often: If you have sensitive skin, consider shaving less frequently to allow your skin to recover.
- Test Products: If you’re trying new products, test them on a small area of your skin first to check for any allergic reactions.